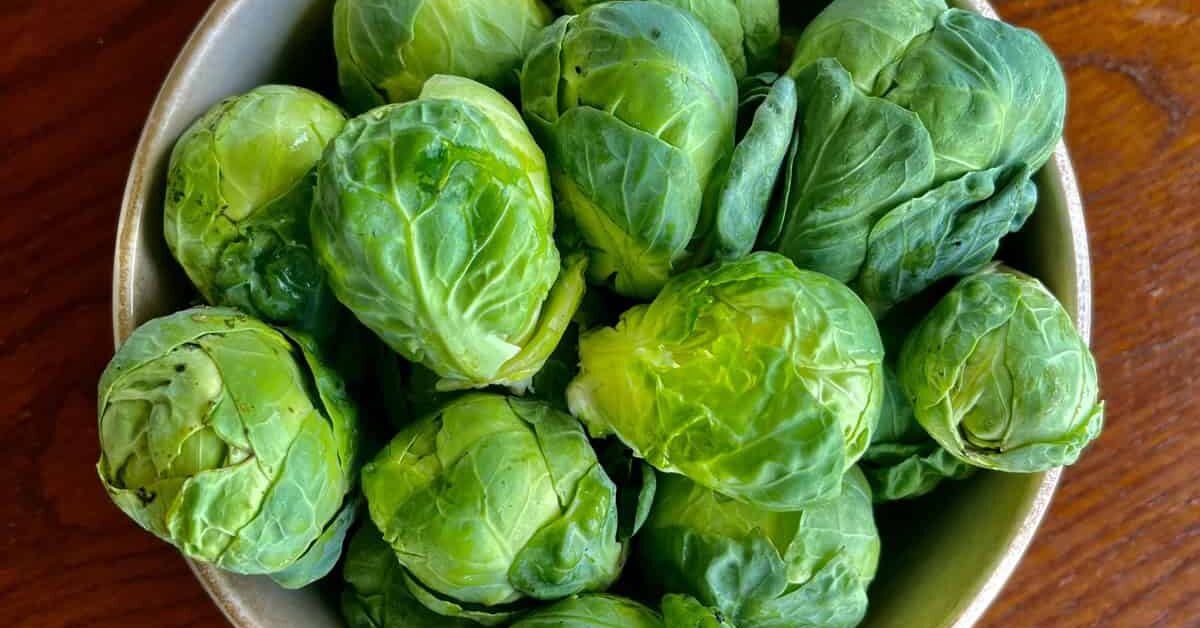
How to grow Brussels Sprouts
The history of the brussels sprout is somewhat unknown. They have popped up regulalry throughout the pages of history, with the precursor of the modern sprout appearing in ancient Rome.
However, it was the during the 16th century that the cultivation of sprouts as we know them today was first documented in what is now Belgium.
It is also believed to be around this time in history that they were first dubbed brussels sprouts, in reference to the large crops grown outside the city of Brussels and the Belgians insatiable love of them.
Today, I don’t think there is a more polarising vegetable on the planet, you either love them or loath them.
Unfortunately, the tainted reputation of the sprout often comes down to the poor cooking techniques people experienced in childhood. When prepared and cooked well, sprouts have a wonderful sweet and nutty flavour.
Like most members of the brassica (cabbage) family they carry a slight bitterness, however, the sprouts of today have seen considerable flavour and scent improvements.
Thanks to a Dutch scientist, Hans van Doorn, who in the 1990’s identified the exact chemical compound that gave Brussels sprouts their bitterness. From this discovery new varieties could be selectively bred with reduced amounts of this compound resulting in a less bitter taste.
Brussels sprouts are also nutrient rich, being high in fibre, vitamin C and vitamin K. They are low in calories and contain the antioxidant zeaxanthin which promotes eye health.
If your perception of brussels sprouts is based on their bitter flavour or prior culinary flops now might be the right time to reintroduce this healthy vegetable to your table.
And why not grow them yourself? Learn how with this how to grow Brussels sprouts guide.
When to plant Brussels Sprouts
The most difficult part of growing Brussels sprouts is timing their planting.
Sprouts are a cool season and slow maturing crop, taking 4-5 months to form. In most regions they should be planted during summer (mid to late summer is ideal). They will germinate during the warm weather, while the shorter and cooler days through autumn and winter will promote the development of the sprouts themselves.
Planting to earlier will see the plants bolt and die away before the sprouts develop.
If planting late the crop won’t mature before spring which will be detrimental to their development.
Brussels sprouts will suffer in heat and prefer temperatures under 22ºC (77ºF), while they are tremendously frost hardy. You will find the sweetest of sprouts are harvested right after a heavy frost.
Use the following table as a guide to sowing brussels sprout seeds in the southern hemisphere.
Brussels sprouts are a cool climate crop. In sub-tropical areas that have mild winters with average temperatures in the teens may have some success.
For tropical and arid areas, brussels sprouts aren’t likely to be a suitable crop.
How to plant Brussels Sprouts
Plant brussels sprouts in a sunny location with at least 6 hours of full sun each day. Light afternoon shade is ok.
The plants grow to a height of 1m and need some shelter from high winds which will damage the plants, potentially pulling them up from the roots.
The soil should be well draining and compost rich with organic matter and aged animal manure. Loosen the soil before planting by digging it over.
Sow seeds, 6mm deep and 60cm apart leaving 1m between rows. Water immediately and then continue to keep the soil moist but not wet. Germination takes place 1-2 weeks after sowing in soil temperatures between 7 and 25ºC (44-77ºF).
How to tend Brussel Sprouts
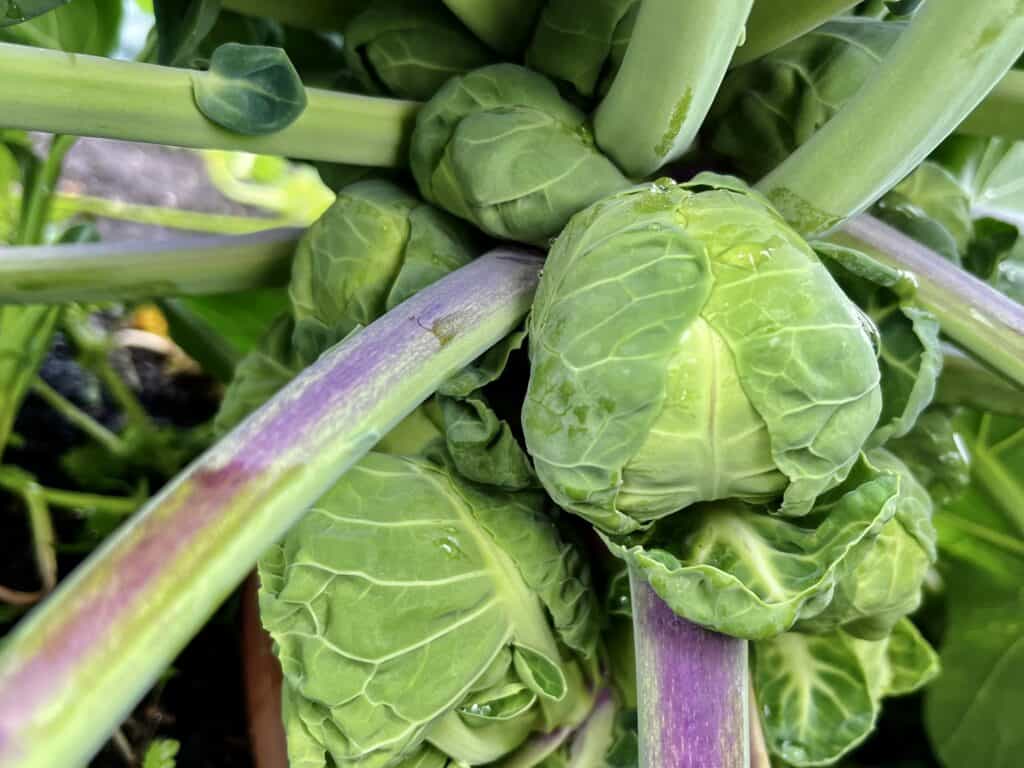
Brussels sprouts like moist soil but not wet. Water only when the soil begins to dry out. Water only at the base of the plants, avoiding wetting the leaves to prevent fungal disease.
If the soil was well prepared prior to planting, additional food shouldn’t be needed over the growing period. In soil that wasn’t prepared or poor soils an application of a balanced fertiliser, or a specific vegetable fertiliser, can be beneficial. Use a slow release fertiliser once the seedlings are 10cm tall. Be conservative when fertilising, accessive nitrogen will lead to lots of foliage with few sprouts.
Once the seedlings are 10cm tall it’s a good idea to mulch around their bases for water retention and to suppress weeds, keeping out competition. Straw is the simplest mulch option for this application.
In windy areas, sprouts can be staked to avoid wind damaged.
Pruning
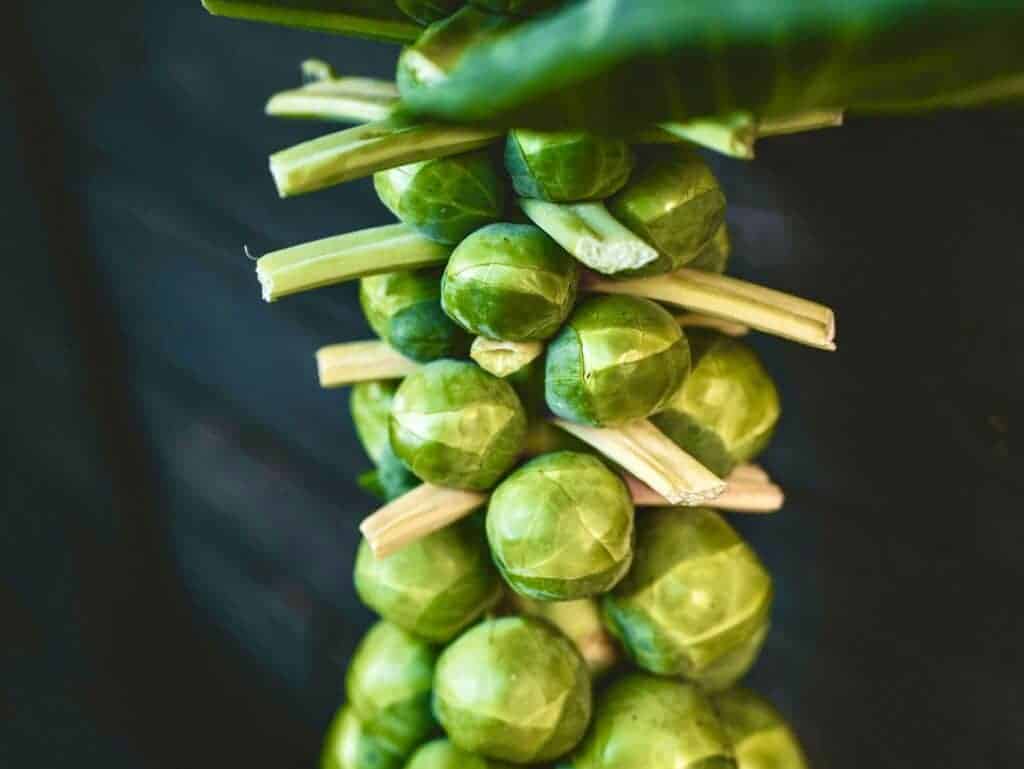
Photo by Matt Seymour on Unsplash
Throughout the growing period remove any yellowing leaves from the stalk of the plant.
Sprouts generally don’t start to develop until the plant reaches almost full height. The sprouts themselves develop along the plants stem at the base of each leaf stalk. Sprouts at the base of the plant will mature first.
At the early signs of sprouts you should begin to remove the lower leaves from the plant. Start by removing the leaves from the bottom third of the plant. Continue to remove leaves every other week, working your way up the stalk, as sprouts develop. By the time the plant reaches maturity you want to be left with only the top third of the plant holding leaves.
The leaves are removed from the plant to:
- provide additional airflow, prevent moist conditions, disease and rot
- increase light to the sprouts, helping them develop
- provide more room for the sprouts to swell to a larger size
- decrease the plants wind drag, keeping them standing upright
When removing leaves, be conservative. The plant needs to continue its photosynthesis in order to grow. The removal of too many leaves will impact the health of the plant.
Topping
Topping is the practice of removing the growing tip of the plant, preventing its ability to produce any further vegetative growth vertically. This focuses all the plants energy into the development of the sprouts.
Once the plant reaches its mature height (around 1m) you will notice that the top fan leaves, instead of growing perpendicular (at a right angle) to the stem, will begin to clump or cluster together. At this stage, the plant isn’t going to produce any more sprouts than what is already present and can be ‘topped’.
To do this, use a pair of sharp secateurs to snip the top 2cm off the plant. This should inlude the upper most leaves.
When to harvest Brussel Sprouts
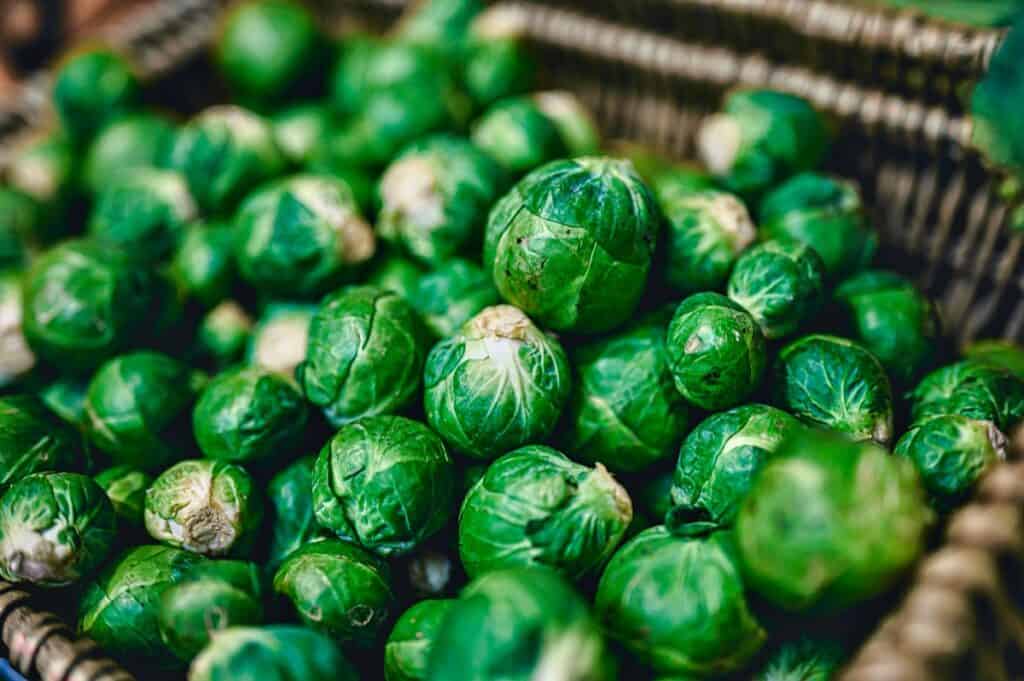
Photo by Jez Timms on Unsplash
Brussels sprouts should be ready to harvest in around 80-140 days when the heads are firm and around 5cm in size. The sweetest sprouts are harvested right after a frost.
Sprouts will begin to mature at the bottom of the plant first and continue to mature upwards. If you have topped your plants you may find that they mature at a more even pace. Even if the sprouts at the top of the plant haven’t matured you can still harvest and use the sprouts that are ready.
To harvest the mature sprouts carefully twist the heads until they seperate from the plant.
If the entire stalk is harvest ready you can cut the stalk in its entirety from the base of the stem, leaving the sprouts intact.
How to store Brussel Sprouts
Sprouts can be stored in a plastic bag in the crisper drawer of the fridge for around 1 week. They should not be cleaned prior to storing as this will impact their shelf life.
For longer term storage the best option is to blanch sprouts whole and freeze them.
If you have harvested the sprouts with stem intact, place the stem in a vase of water or cover each end with damp paper towel and place in the fridge.
Share
